This Dust makes that Mud

I didn't know anything about plastering a strawbale house and the books/websites I read lacked pictures. So I'm gonna use a lot of pictures.
When you build a load bearing strawbale house, you kinda build it from the inside out. You start with the insulation (the straw), Then you add the roof, then you add the protective, and supportive outer shell (the plaster). Once the plaster is up and dry it begins supporting the weight of your roof and the straw effectively becomes insulation. The plaster also protects the straw from the elements, and pests.
Immediately, when I was about to begin the very first coat of plaster it was obvious that no one had any clue how to do earthen plaster in El Paso. There are a lot of resources on how much clay to how much sand, but you can't just go buy clay in El Paso. Finding which dirt to use to make mud is particularly tricky.. I asked a neighbor what kind of dirt he used in his adobe mortar and ended up buying several tons of a red, sandy top soil from Jobe Materials. I made a muddy slip coat out of that.
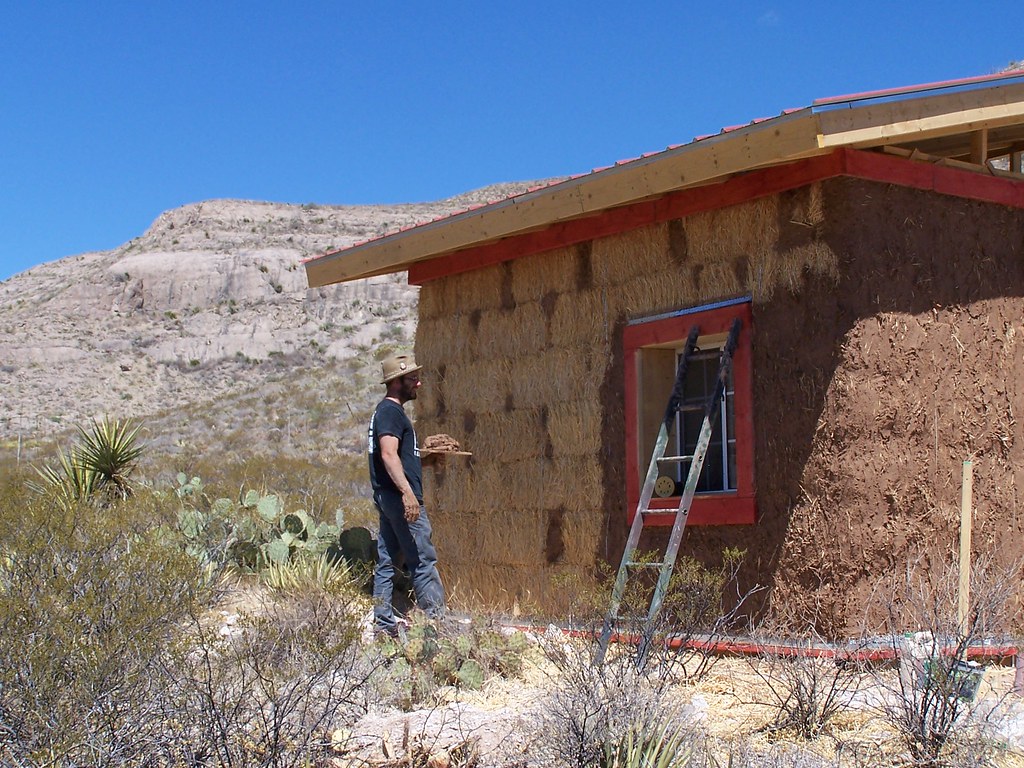
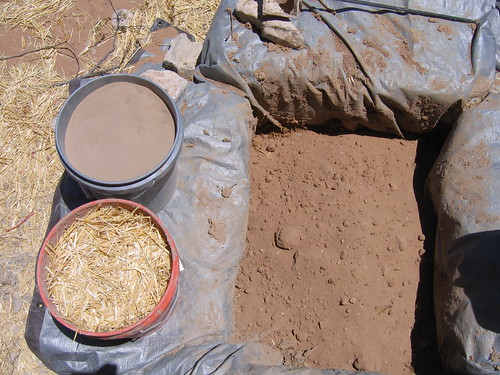
Then I did another super thick adobe coat. It took some testing to get the mix right, and I ended up using 2 parts of the earth I bought and 1 part of my native earth, plus 1 part chopped straw. Originally I was going to try a suggestion from the The Barefoot Architect and use cactus juice in the mud for weathering, but i ended up using an acrylic additive for stucco you can buy at any hardware store.
I let the building weather and shift over the summer.
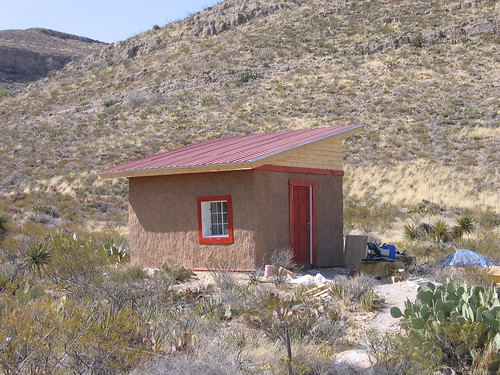
When I came back the following fall the mud had held up nicely. The west wall had some bad cracks and flaking on it, but the other walls only had minor spots. It was all easily fixable by re-wetting it, and then adding more mud.
I was adamantly told by several people that mud alone is not a viable solution for an exterior coat of plaster in El Paso, but I think after a year of testing that if you had 3 or more coats of mud with the last coat troweled on that Mud plaster would work really well here. It requires more maintenance, but the maintenance couldn't be easier. Be that as it may, I heeded the warnings and my final coat of plaster is made using lime.
When researching Lime plaster on the internet you get very little useful information. I found quite a bit of good information on how it works, and the many different types of lime available here at The Natural Building Site. But I have only type-S lime available in El Paso, and most of the strawbale sites/books out there only get into detail on using hydraulic lime. I did find a nice straightforward formula for spraying on lime plaster using type-S lime here, but i was going to trowel it on.
I resorted to testing

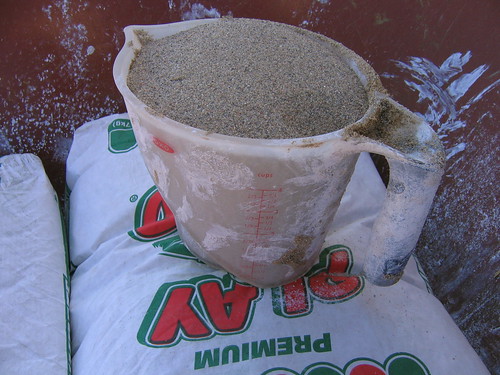
I was hoping to use native earth for the aggregate, but it's really important to use a pure sand with the right shape, and thickness. So i ended up buying play sand, like they use in sand boxes for kids.
3 parts play sand
1 part type-S lime

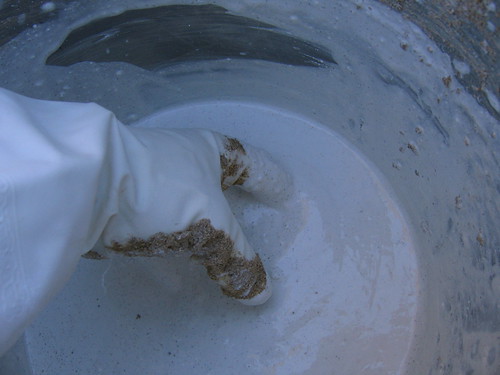
One thing i learned in my "research" is that lime needs to be slaked. The act of slaking lime takes the powdered rock and turns it into a putty. Type-S lime (the "s" stands for special) has already been slaked then re-powdered. So when you use type-s lime you don't have to slake the lime for 24 hours. In fact i'm pretty sure you can mix all the dry ingredients and then just add water, but just to be sure I mixed the lime and water first.
Mix the 1 part lime with about 1.25 parts water.
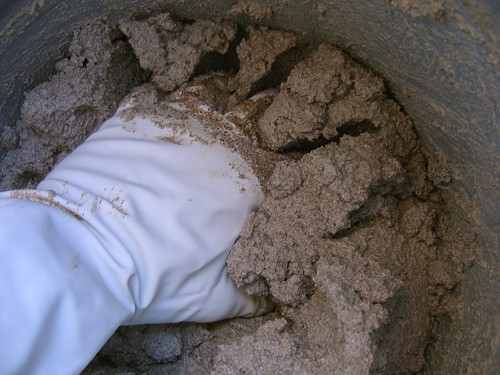
Then add the 3 parts play sand and mix until it's about this consistency
Wet the plaster several times a day while it's curing. The slower the curing time the better the plaster will turn out, and watering the house is fun.